
Diamond Tufted Dining Bench Part Deux

If you are just landing here, you can find Part I of this post including a tutorial for building this bench and applying the upholstery foam here:
Diamond Tufted Upholstery Bench
Where I left off, I had just explained how to build the frame and attach it together. I was rambling on about the seat cushion needing trimmed to make everything fit, so here is a pic of that process. I just used my jigsaw again and then finished trimming with scissors.

 Once I got the foam situation under control, I could layer batting and fabric and begin to cover the seat. I picked up some quilt batting with a coupon from JoAnn’s. It comes in a large roll, but it is half the thickness of upholstery weight fabric. I just doubled it and it worked great. Cut enough to cover the bench and wrap around the sides. Use your spray adhesive to tack the batting onto the foam. It just helps hold it in place. I flipped the entire piece over and began stapling the fabric to the underside of the bench. Pull everything taut, but make sure you aren’t pulling the fabric so tight that the grain is crooked or it will be noticeable with your final product. If your mother ever demanded you learn to fold a “Nurse’s Corner” on a bed sheet, that will come in handy here. I used a Nurse’s Corner on the front corners of the bench seat. It’s difficult to upholster around the legs of the bench; take your time and fold the fabric under carefully. I had a difficult time and the perfectionist in me wants to rip it apart and try again for the
I thought about making a video tutorial as well, but then decided I would just be repeating everything she said. Check out her blog to see the whole project and after you’ve been sucked into her blog for three hours, come back here for the rest.

You know that moment.
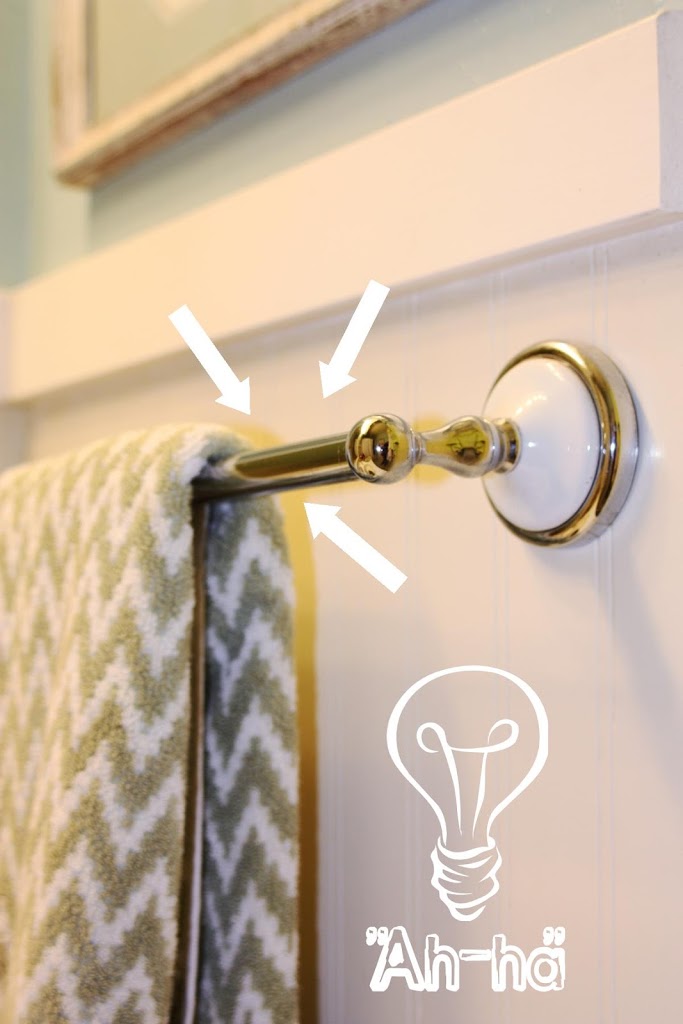
The rod from my towel bar was perfect. I quickly dismantled it and let the “Ram-Rodding” begin. If I can give you precise instructions to quickly chew through those 3″ of foam, I have to put on my big girl pants and try to keep my mind out of the gutter. Forgive me, friends!


Kind of looks like a small rodent chewed through everything, huh?
You’re getting close. Now, you will need to get some Polyfil stuffing. For each button to sink deep and have a plush look, there needs to be a lofty cushion around each button hole. If you skip this step, it will just look like a board with buttons on top. This really makes the difference.
Thus, I have developed what I am calling the “Doughnut Method.”


With the Polyfil and batting in place, all that’s left is to drape the fabric over the top. If you look on Carrie’s blog, she explains the extra yardage needed. It is important to note that you will need extra fabric in each direction. She has a chart to give you the correct math to figure it out. Every time a button gets pulled down into the foam, it is taking an inch or two of fabric from each direction down with it. The chart explains that you will need to add several inches for each button in your design. Truly, as Carrie agrees, the chart is a little over estimated. When I laid the fabric across, I measured enough to cover the bench front and sides with extra to staple around to the back, PLUS 8-12″ for the buttons on each side. By the time it was all said and done, I had more than enough and ended up trimming off a good 4-6″ of surplus fabric. It’s better to have too much than too little. Pay attention to the way your fabric print runs when you are choosing fabric for this project and estimating yardage. This will work best if the bolt of fabric is railroaded ( the print runs with the roll on the bolt). Otherwise, you may have to piece your fabric together with a big seam across your bench.

A professional upholsterer will use an insanely long upholstery needle, but I was able to find an extra long (4″) “Doll Needle” at JoAnn’s to do the trick. I used upholstery thread that is extra strong to tie my buttons.
You will need two sets of buttons; one for the front, and one for the back to bind off the threads.


Then I threaded all four ends through the needle to poke through the front of the bench, past the foam, and through the drilled holes in the wood. This is a blurry shot, but you can see how many threads are through the eye of the needle.

Start in the center of the bench. Middle row, middle button and work your way out. Be careful of your creases as you go, it is important to give a little slack in the fabric to get the plush look. Carefully watch the grain of the fabric to keep it straight.
Every other button, I had a little difficulty with poking the needle in and hitting board. After a few stabs, still no luck. It was helpful to take the needle and push it from the back through to the fabric, just for a visual. I could then see and feel the right place to stitch through the fabric.

Bring the needle and threads through. Drop the needle and thread the loose ends through a button on the back side. Have a helper push the button in on the front while you tighten and put numerous knots in the back threads. Even with several square knots, my thread still wanted to loosen, so take some time here. I ended up tying all of the loose ends together to form a chain across the back. You do not want to do all this work and cover up the back, only to have your tufting come loose.

It’s nice to have a good set of eyes on the front during this process to make sure that the buttons are sinking in at equal depths and staying level with the holes. Even with the foam and pre-drilled backer board, if the needle is placed to high or low into the fabric it can look crooked. Carefully crease the fabric on the diagonal, making sure to fold the creases in the same direction.

For my rows of three, I made the creases roll in toward the diamond shape that is created between the spaces. Do you catch my drift?

Once all of your buttons are done, step back and admire your work!

Fold the fabric back around the rear of the frame and staple to the edges, keeping the crease from the outermost buttons.


This took lots of stapling, as it is so bulky on the corner with all of those pleats. Good luck!


With the seat and back cushions complete, I clamped them together and bolted them in place. I did end up countersinking my bolts here so that they would be flush with the rear frame. If you don’t do that, your back cover will not fit correctly.


After the nails were in place, I laid it face-up on a a piece of fabric with batting cut slightly larger than the board with the dangerous nails spiked everywhere. Be careful, keep the kids out for this part.


Wrap the fabric from the bottom edge around the rear frame to complete the back. Voila! It’s done.

The girls love their bench and use it daily at their homeschool table. If I ever get a dining room, I plan to build a large Farmhouse dining table with a set of benches on each side just like these. They really are comfortable and give a nice high-end look.


I seriously just about flipped out when I saw this on Ana White because I've been thinking about drawing up a plan for something like this for a couple months! This is SO pretty ~ I LOVE IT!!! Now I just get to share it with my readers and get to work on one for our dining room. THANK YOU!!!
Mind blowing. Truly. Found your post off a pinterest "15 DIY things" or whatever those are called. I just did my first (re) upholstering job last spring when someone was throwing out a gorgeous mid-century chair. I'm in love with tufted things, but it always sounds so difficult…not that yours sounds easy, but you make it look do-able. I adore the fabric and the use of your
Oh My Gosh! This is truly beautiful! I have a severe case of "Blog-randiosity" you know, – the feeling you can have the same results as someone else in the blogosphere, who is truly genius and actually good with tools. Just beautiful, good work! Great blog, I will be back…
Ooh so cute!
Dear Jenny,<br />I absolutely love this bench. It is perfect and I had never thought about using webbing for indoor furniture. Could you point me to some more information about webbing? I made a couch last fall but have a piece of plywood for under the cushion. It is not remotely comfortable. I'd like to modify it and use webbing instead, but I'm not finding a ton of helpful info online.
love it and I am going to use it. will try this on my hand made couch to try to make it more comfy
This is gorgeous! I love it. I have been looking for a bench for a while for our really small dining room. Everything is either too large or lacks style. This is perfect. I will have to think this one over but may dive in and give it a try. We are currently remodeling our bathroom so one project at a time! Plus this will be a great way to use some of my grandma's button collection. Thanks for
absolutely beautiful. beautiful work, beautiful result. i LOVE it. well done.
Thank you so much for sharing, I am going to try this on the couch in my trailer. And will also post about it 🙂